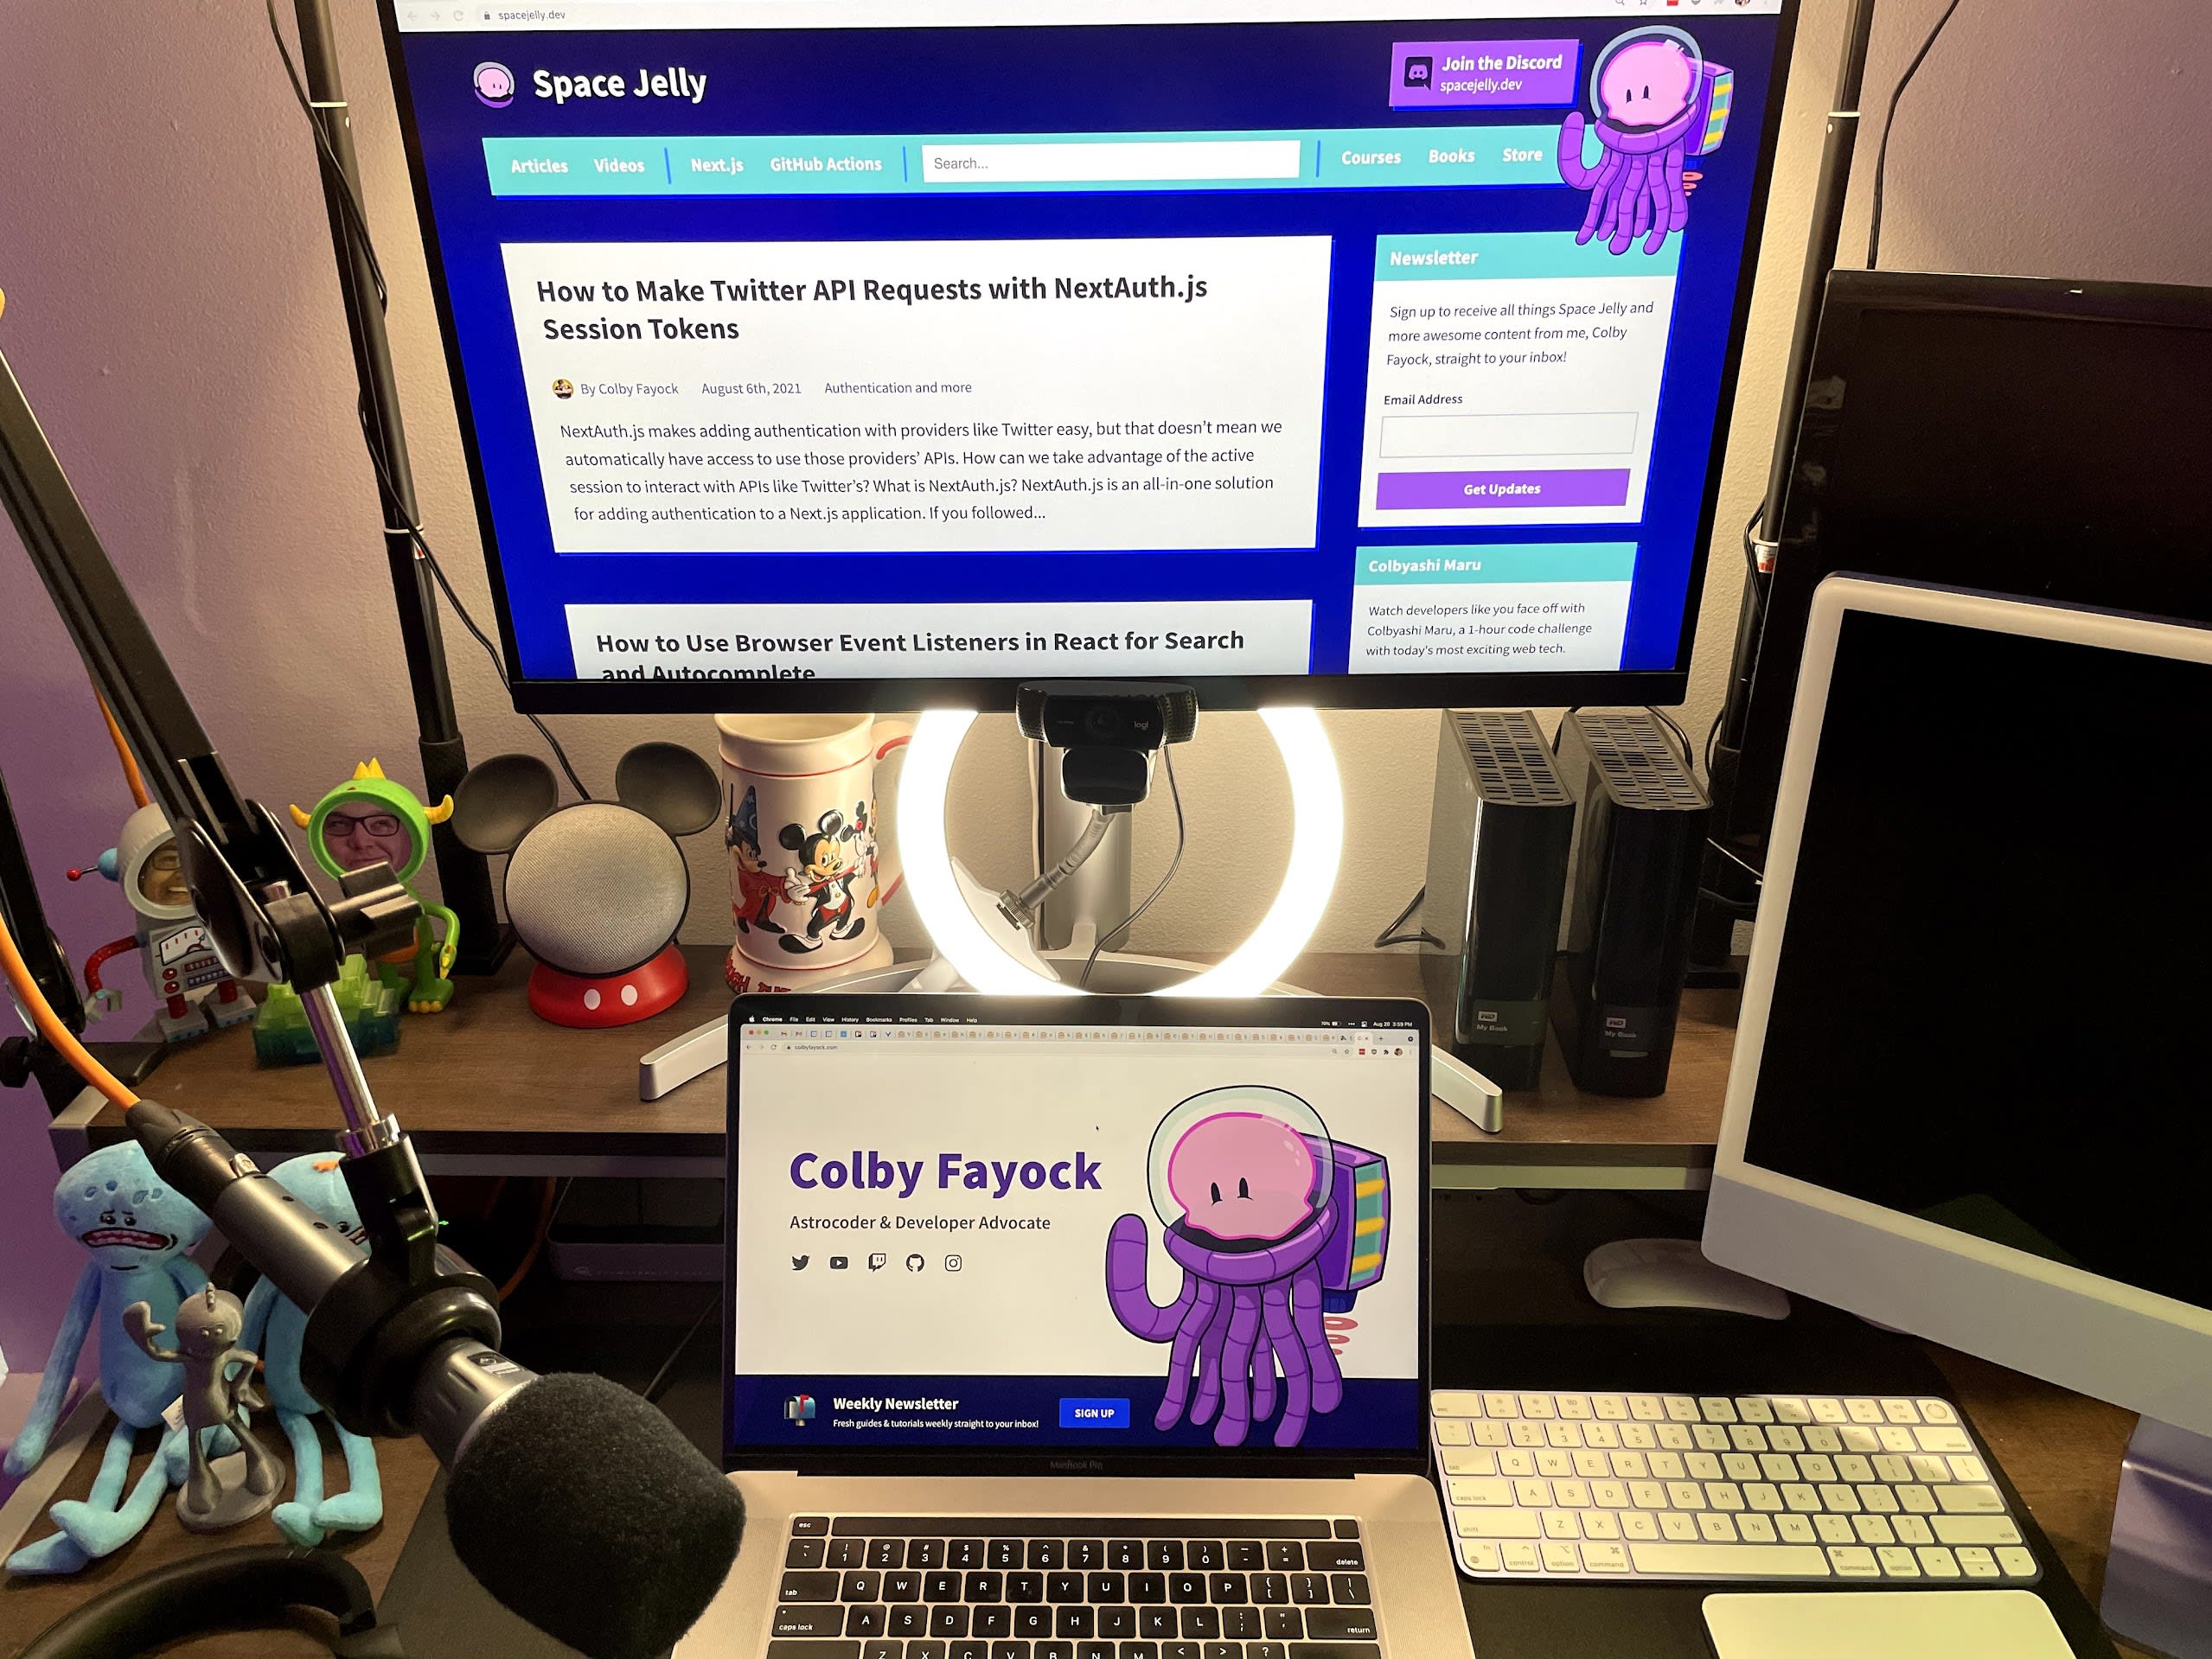
Uses
As an educator and Developer Advocate, my work involves creating and delivering content through different mediums. The hope is that I can provide that content at as high of a quality as I reasonably can, which in effect allows learners to focus on the content, rather than distracting background noises or dark, grainy video.
While you can (and I did) get pretty far with an onboard mic and webcam, it ends up limiting the quality that you can ultimately achieve. After committing to this type of work, I’ve started to slowly invest and re-invest money I’ve earned through this work to continuously level up my setup.
The goal of this setup is to be somewhat “budget” friendly. While nothing here really would be considered “cheap”, I’ve committed to finding alternatives to the premium options when purchasing things out of pocket that do just as well (if not better) without the brand name.
Keep in mind that this isn’t the equipment I started off with and some of this equipment I was fortunate enough to receive as part of my work. If you’re new to this, I’d highly recommend making sure you’re in this for the long haul before investing a ton of money. You can get pretty far with cheaper options like a $16 app to record with your iPhone before investing more.
Note: The prices I’m marking below are at the time of writing this. The links are also mostly affiliate links, so I’ll get a tiny cut if you end up getting something.
What’s inside?
Audio
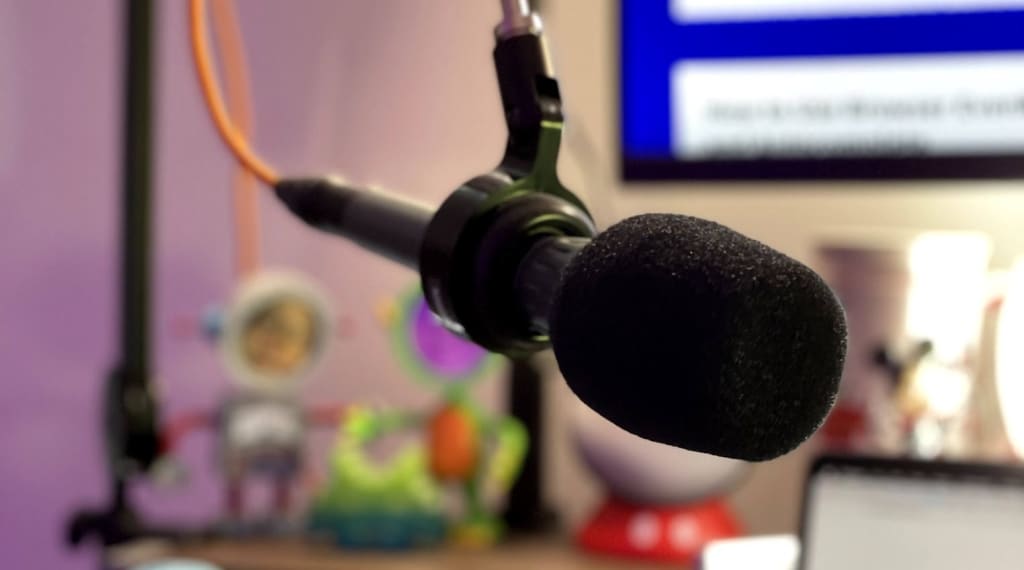
Audio is arguably the most important piece of the content creation puzzle. When delivering video, podcasts, or any other sound-based educational content, you want to be able to communicate as clearly as you can so your listeners and viewers can understand every concept you’re trying to convey.
I was lucky to receive an audio kit from egghead.io as an instructor that included a high quality microphone and an audio interface.


The kit also included some other accessories like a microphone cable, stand, stickers, and the book Badass: Making Users Awesome.

Before my egghead.io journey, I used a Blue Yeti.

It worked really well and is an extremely popular option for people getting into content creation. I used a Blue yeti when recording a podcast with That’s My JAMstack.
I ended up upgrading the stand to a flexible arm that clamps to my desk.

The arm works really well, providing a way to keep some extra room on my desk without the stand getting in my way all of the time.
I don’t use anything between the mic and the recording software (OBS).
Video
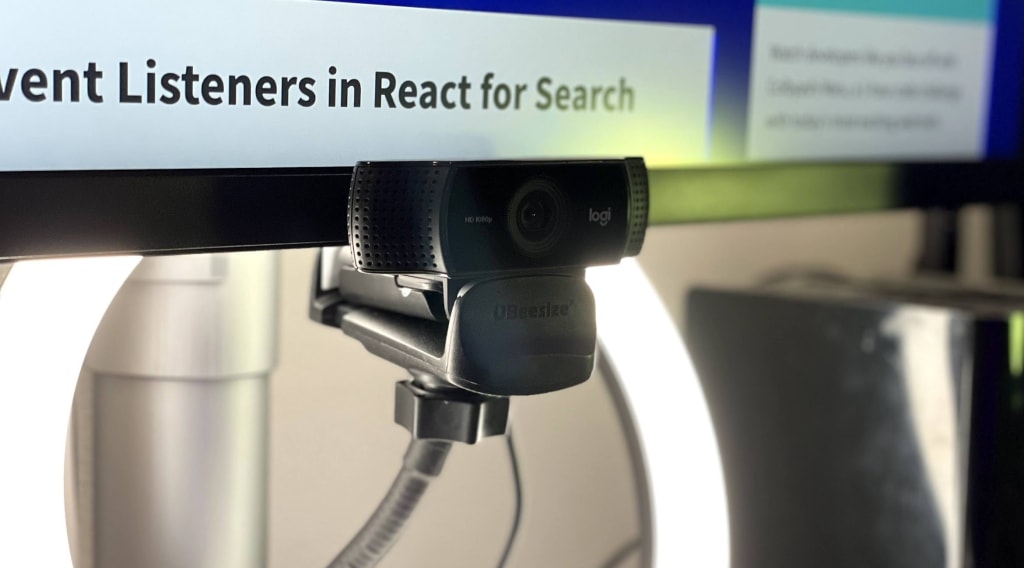
While my video quality isn’t as high as it might be with a DSLR, I’ve come a long way since my first video and have had some success using the Logitech C922 Pro.

Personally I find upgrading to a better solution low priority as it seems like the next step is DSLR which comes with a high cost.
Foreground Lighting
Your video will only be as good your lighting. Without sufficient lighting, your camera won’t be able to take in enough light to provide a detailed picture. I learned the hard way that the Logitech C922 suffers a lot without sufficient lighting, leading the video to be laggy and grainy.
Starting with the front lighting, I use 2 Neewer LED panels.
They come as a single pack as well as a 2-pack that comes with stands if you know you need additional lighting.

They do a nice job at providing a lot of light and allow you to control the brightness and temperature color on the back of the panels. They only come with batteries, which means they’re portable, but if you would rather the ability to plug them in without recharging every time, I use these power adapters.

While the 2-pack of LED panels came with stands, I needed something to mount them to my desk, as I didn’t have space for them sitting behind my desk.
My goal was to replicate something like the Elgato stand but for a little less money.
I ended up with some monopods and desk clamps to attach and position them to shine down.
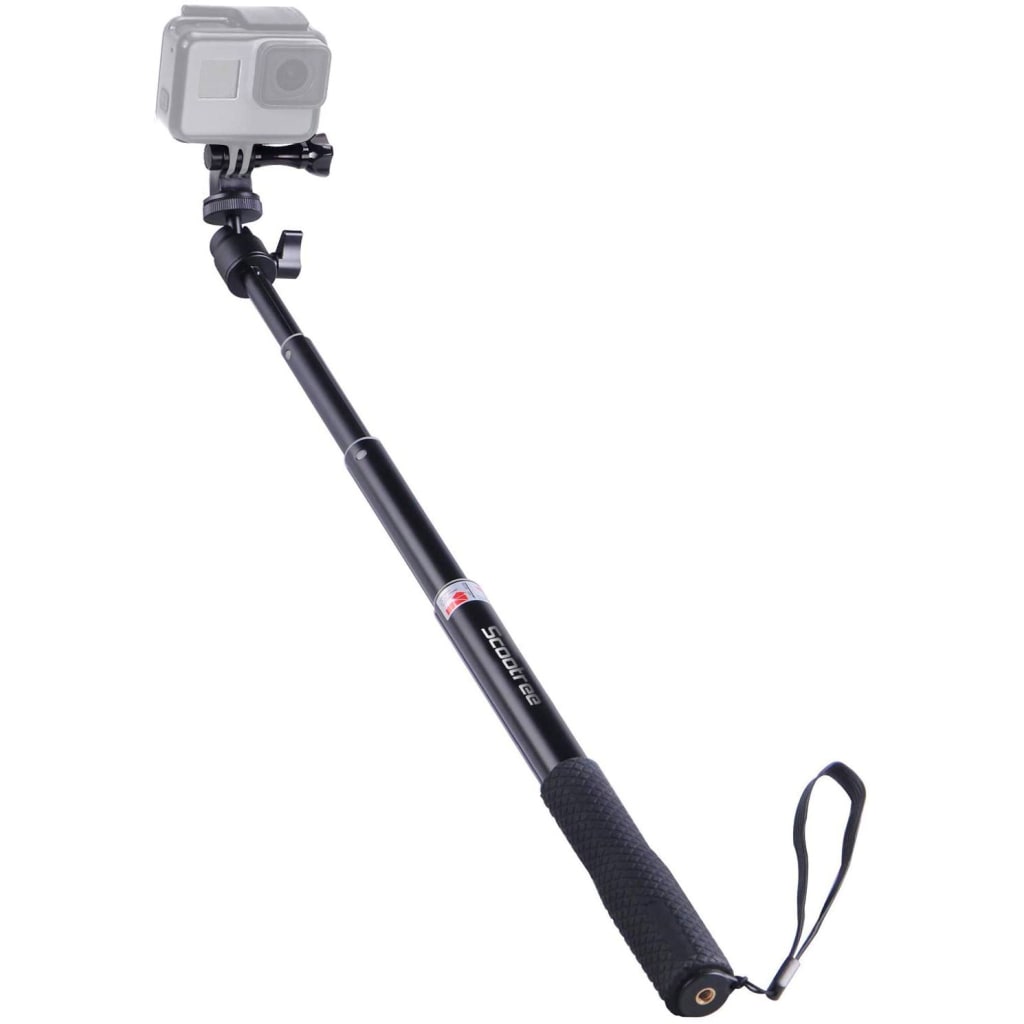
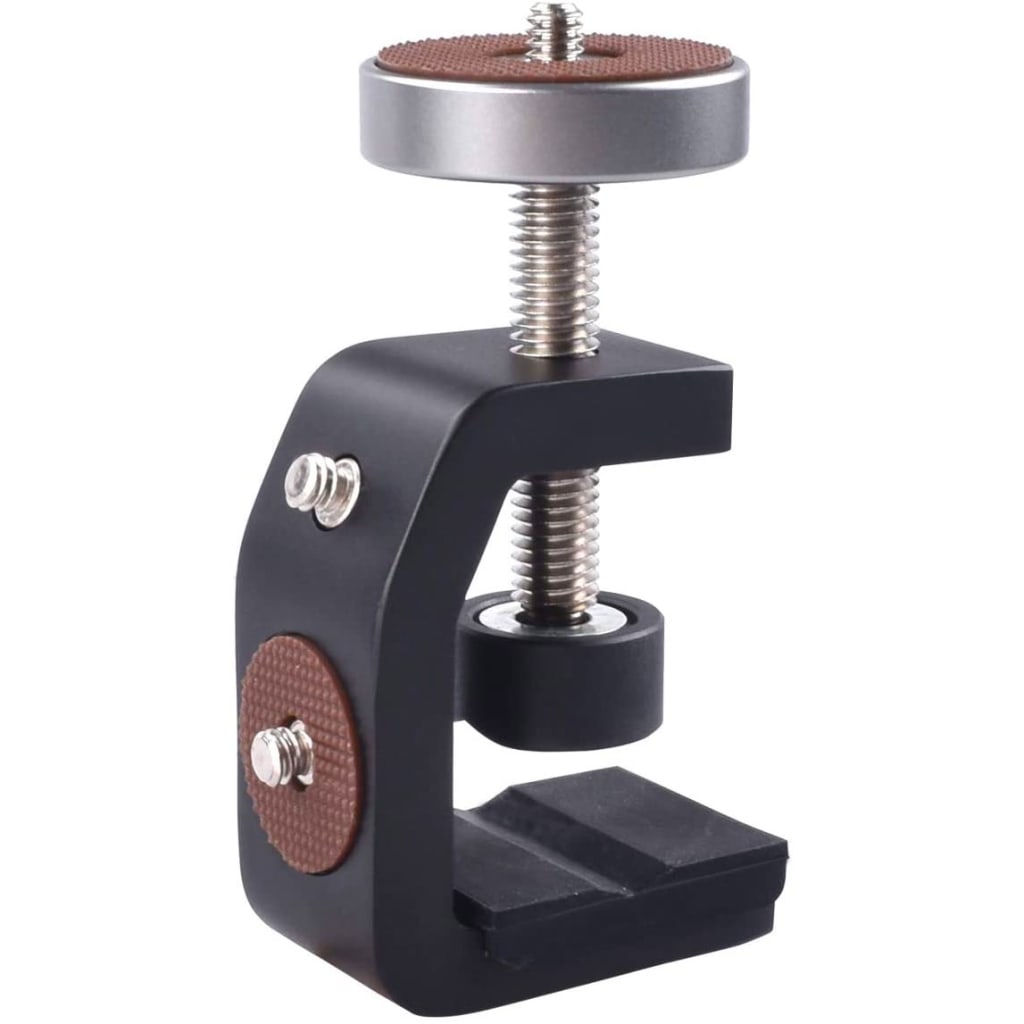
The price difference only ended up being around $10 per stand. Originally it would have been less with some other clamps I tried, but they ended up failing by bending a bit when trying to keep the lights upright. Still happy with how it turned out.
Finally, I have a simple ring light that I got for free in exchange for a product review (an honest one!) that just provides some fill on my face.

It works quite well! Even if it’s your only available option for lighting, it gives enough light on your face that it makes a big difference than none at all. The only issue right now is it doesn’t fit my setup super well and might eventually need to find something that does
Background Lighting
The background of my lighting setup consists of three pieces.
To start, I have an RGB LED Flood Light. It sits in the middle of the background producing a big chunk of the light, which I currently have set to a magenta-like color.
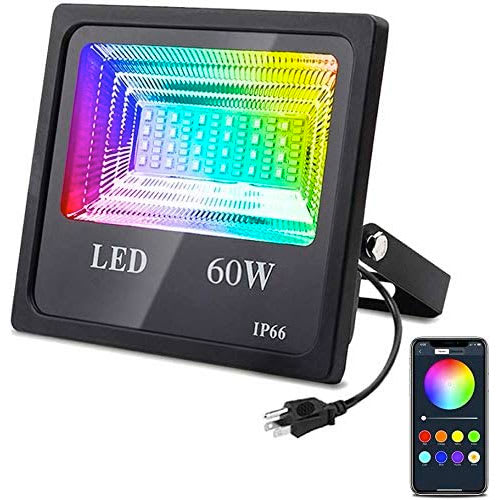
What I like most about my favorite color purple is when it mixes with blues (like space stuff!) so I wanted to try to replicate that.
To do that, I use 2 Wyze color bulbs on each side along with a simple desk lamp for each to plug it in and point it at the wall.


Other Hardware
Starting with some “smartware”, I wanted to automate being able to turn on all of my lights whenever I got started with my desk. While the Wyze bulbs have wifi built-in, the desk lamp nor the LED flood light have any support like that.
Similarly with my foreground lighting, they simply plug in to the wall, nothing to trigger them flipping on and off.
To automate those parts, I grabbed a two pack of Wyze smart plugs, which ended up being a simple fix.

With all of the equipment, I needed a way to expand my USB connections into my machine.
I tried to use a small, cheaper one, but it ended up not having enough power to fully keep up with things like my monitor, microphone, and camera all at the same time.
After a billion amazing recommendations from everyone, I ended up investing in the popular OWC thunderbolt dock.

It’s a lot more than I wanted to invest in something like that, but it’s really solid and had served me really well.
Software
Starting from where I earn my keep, I’m currently using VS Code with the Obsidian theme (Night Owl when recording).


And here are a few extensions I thoroughly enjoy:
For note-taking and general thought organization, I use Craft.

Others
Missing something you’re curious about? Hit me up and let me know!